Making A DIY Boho Tent In A Pinch For Newborn Photos
You Probably Have Stuff Just Lying Around Your Studio
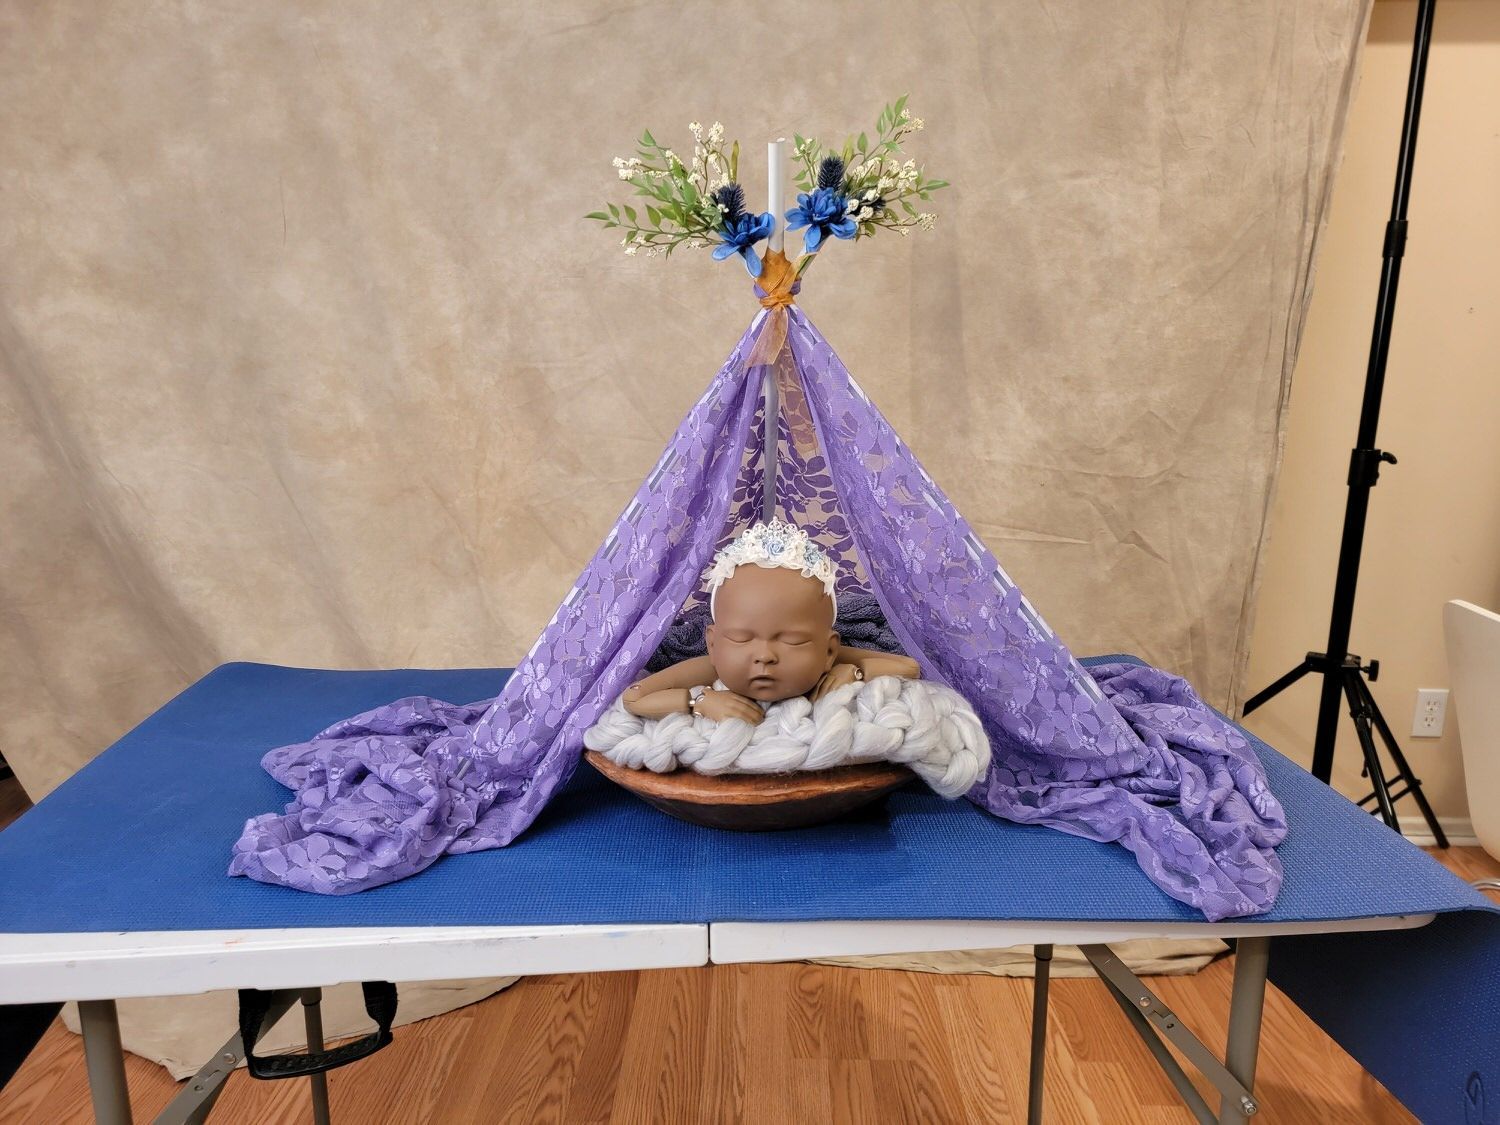
Looking for the perfect DIY newborn props for your next photoshoot? Look no further! In this step-by-step guide, we'll show you how to create a dreamy boho tent using everyday materials. This simple and budget-friendly project will add a unique touch to your newborn photos and can be easily customized to fit your desired aesthetic. So grab your materials and let's get started on this fun and creative DIY boho tent!
Understanding the Magic of a Boho Tent in Newborn Photography
So, what's the deal with these boho tents and why are newborn photographers going gaga over them? Well, let's get into that. These tents, with their bohemian vibe, have a unique way of adding a dash of enchantment to your photoshoots. They can turn an everyday setup into a picturesque, otherworldly bohemian fantasy.
But that's not all! These tents do more than just look pretty. They offer a safe, snug little nook for the newborn to chill in while you click away. The gentle fabric forms a perfect backdrop, enhancing the feel of the pictures and adding layers of texture and depth. This concocts a magical ambience, which is ideal for capturing those precious, fleeting newborn moments.
In a nutshell, a boho tent adds a touch of whimsy to your newborn photography and can elevate your photoshoot from cute to captivating. Now, let's get into how you can create one of these magical tents for your next shoot. Are you ready? Let's dive right in!
Gathering Your Everyday Materials
Alright, ready to start building this boho masterpiece? Let's first gather up everything we need. You'll be pleasantly surprised that you might already have most, if not all, of these items at home.
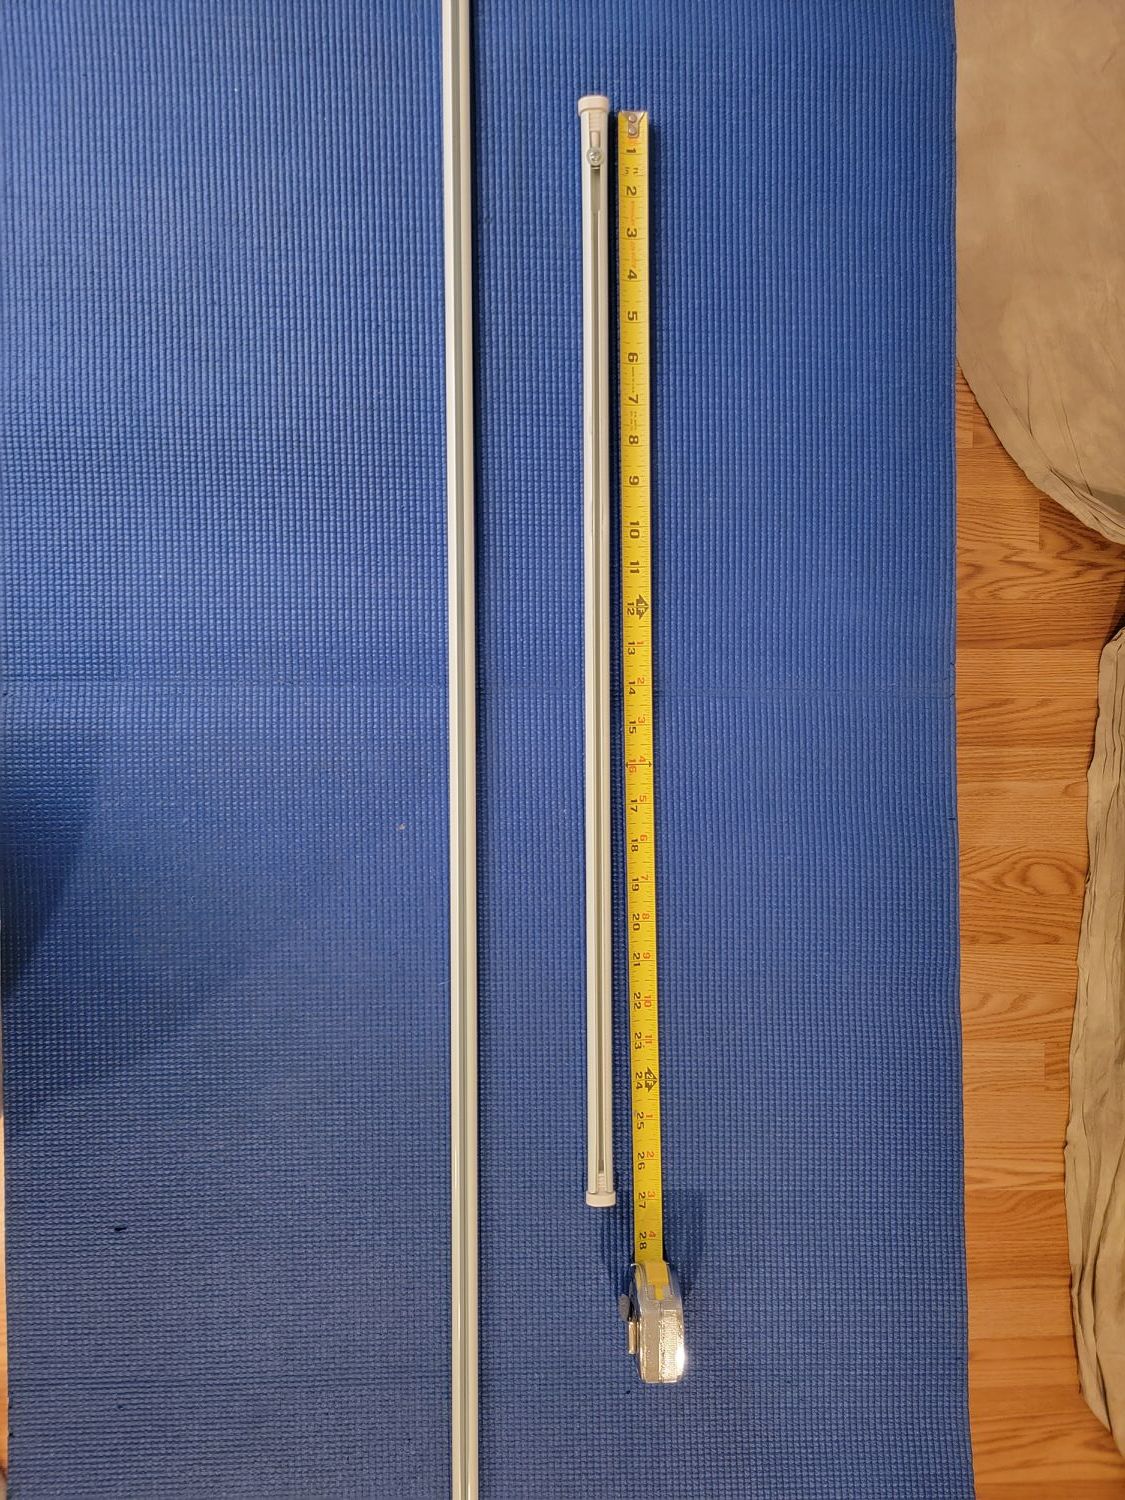
We're going to need two flat curtain rods. I happened to have these lying around. But could use old brrom handles, dowels, even large sticks from a major tree trimming. These will serve as the backbone of our tent, creating the structure we'll later drape our fabric over. If you don't have any lying around, they can be easily found at any home goods store and won't break the bank.
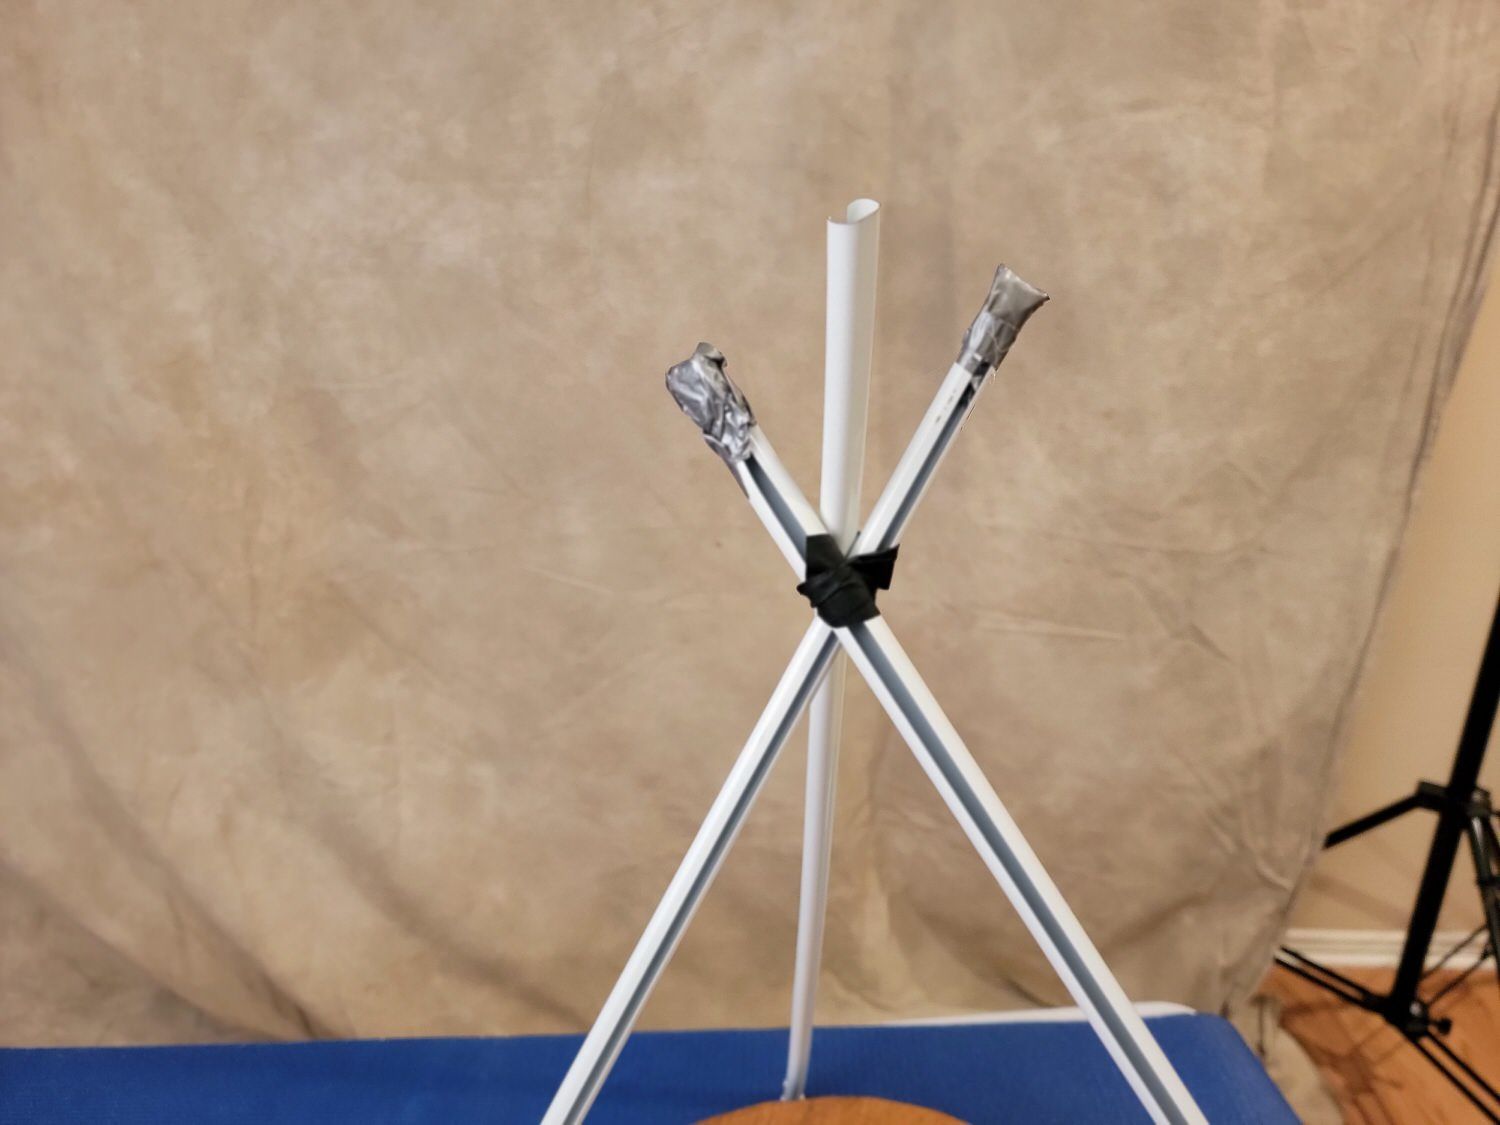
Next up, we need duct tape. This might seem a bit unconventional and uncreative, but trust me, this stuff is magic! It will keep our curtain rods securely in place and ensure that our tent doesn't wobble or collapse.
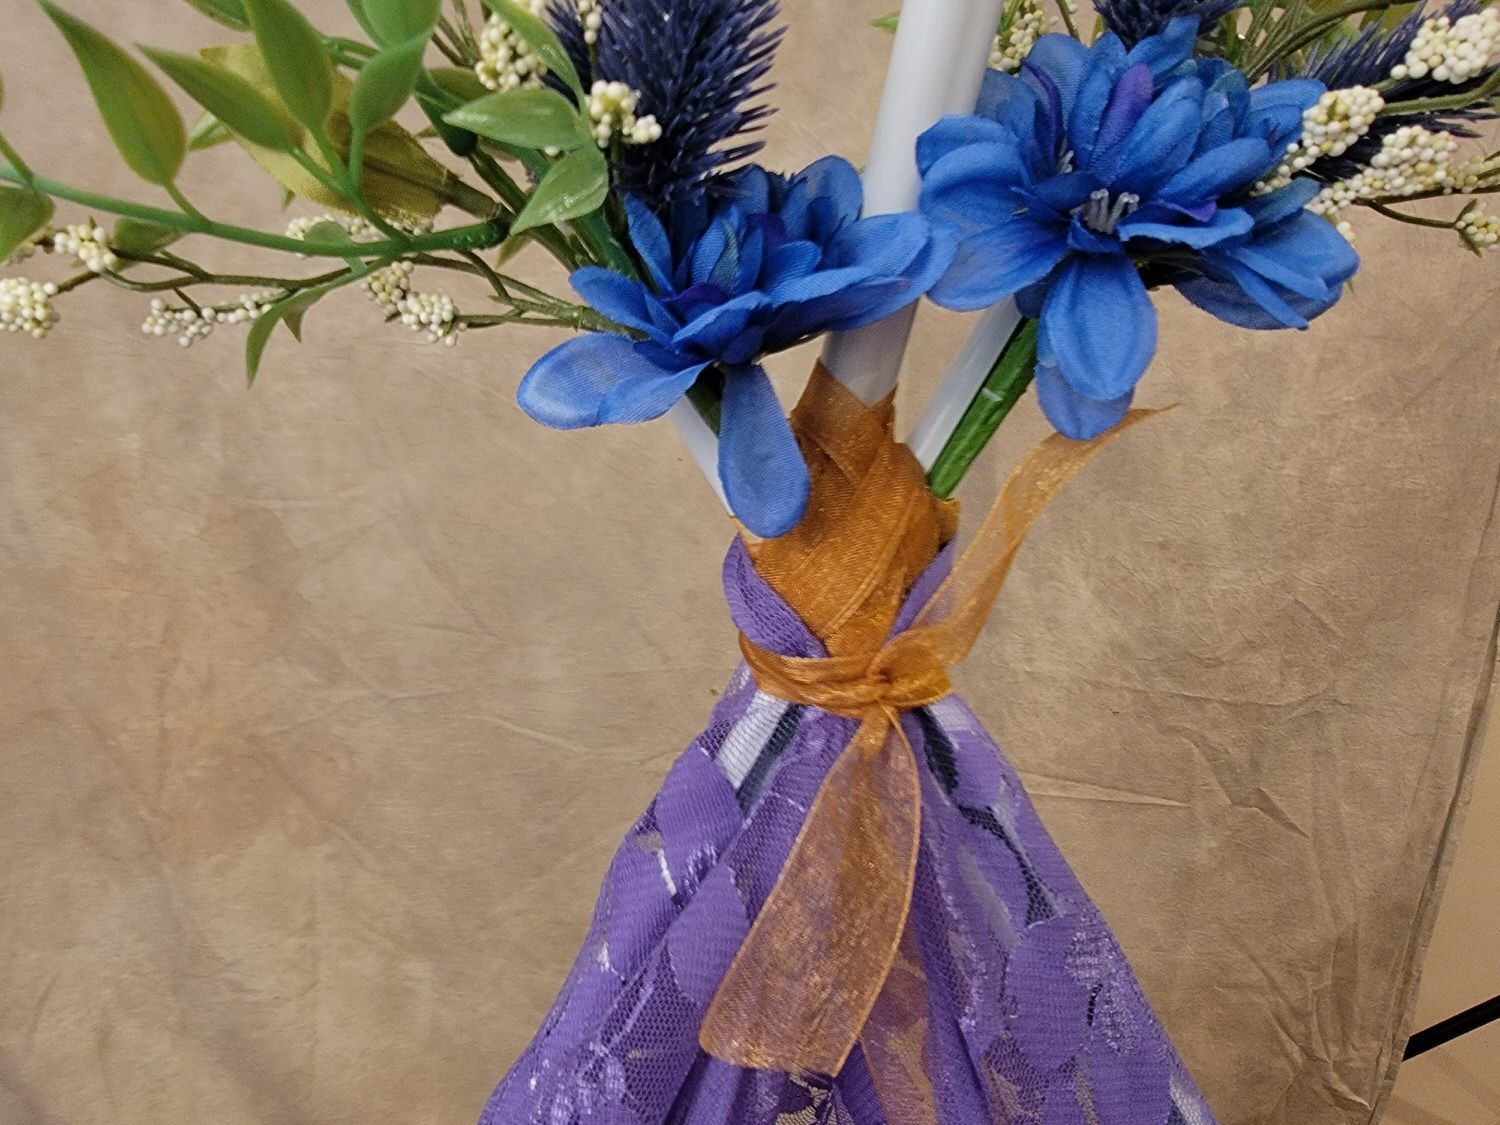
We also need some ribbon. This is not only functional – as it will help conceal our duct tape – but it'll also add a decorative touch to our tent. Feel free to use any type of ribbon you like. You can even use a variety if you want to make the tent extra colorful.
Finally, we need some fabric. This is the fun part! The fabric you choose will define the vibe of your tent. Consider using old bed sheets, curtains, or tablecloths. You could go with a classic white or cream, or choose something with a fun, bohemian print. You can even mix and match different fabrics to create a layered look.
And there you have it, folks! These are all the materials you'll need to create a magical boho tent for your next newborn photoshoot. Simple, right? Now, let's get to building!
Constructing Your Tent Frame
Alright, let's dive right into the construction process. The first thing you're going to do is cross your curtain rods over each other, creating an ‘X’ shape. You're going for a tent structure here, so the top should be narrow and the bottom wider. Now, whip out that duct tape and use it to secure the spot where the rods intersect. And don't worry about the tape being visible, we've got a plan for that. Also, whether you sawed or cut through the metal, you will have rough edges. These need to be covered for the safety of the baby (and everyone). You can used duct tape and then spray paint. Or you can place flowers over the tips. I tried earthquake putty too
Grab your ribbon and start wrapping it around the taped section. This will not only hide our not-so-pretty duct tape but also add a pretty decorative element to our tent structure. This structure needs to be sturdy because it's going to be supporting our fabric, but it also needs to have enough flexibility so we can easily drape the fabric over it. So take a step back, look at your frame, and make sure it's looking just right. Remember, there's no rush here. Creating a DIY prop like this is all about having fun and letting your creativity shine. So enjoy the process, and let's keep moving forward!
Draping Your Fabric
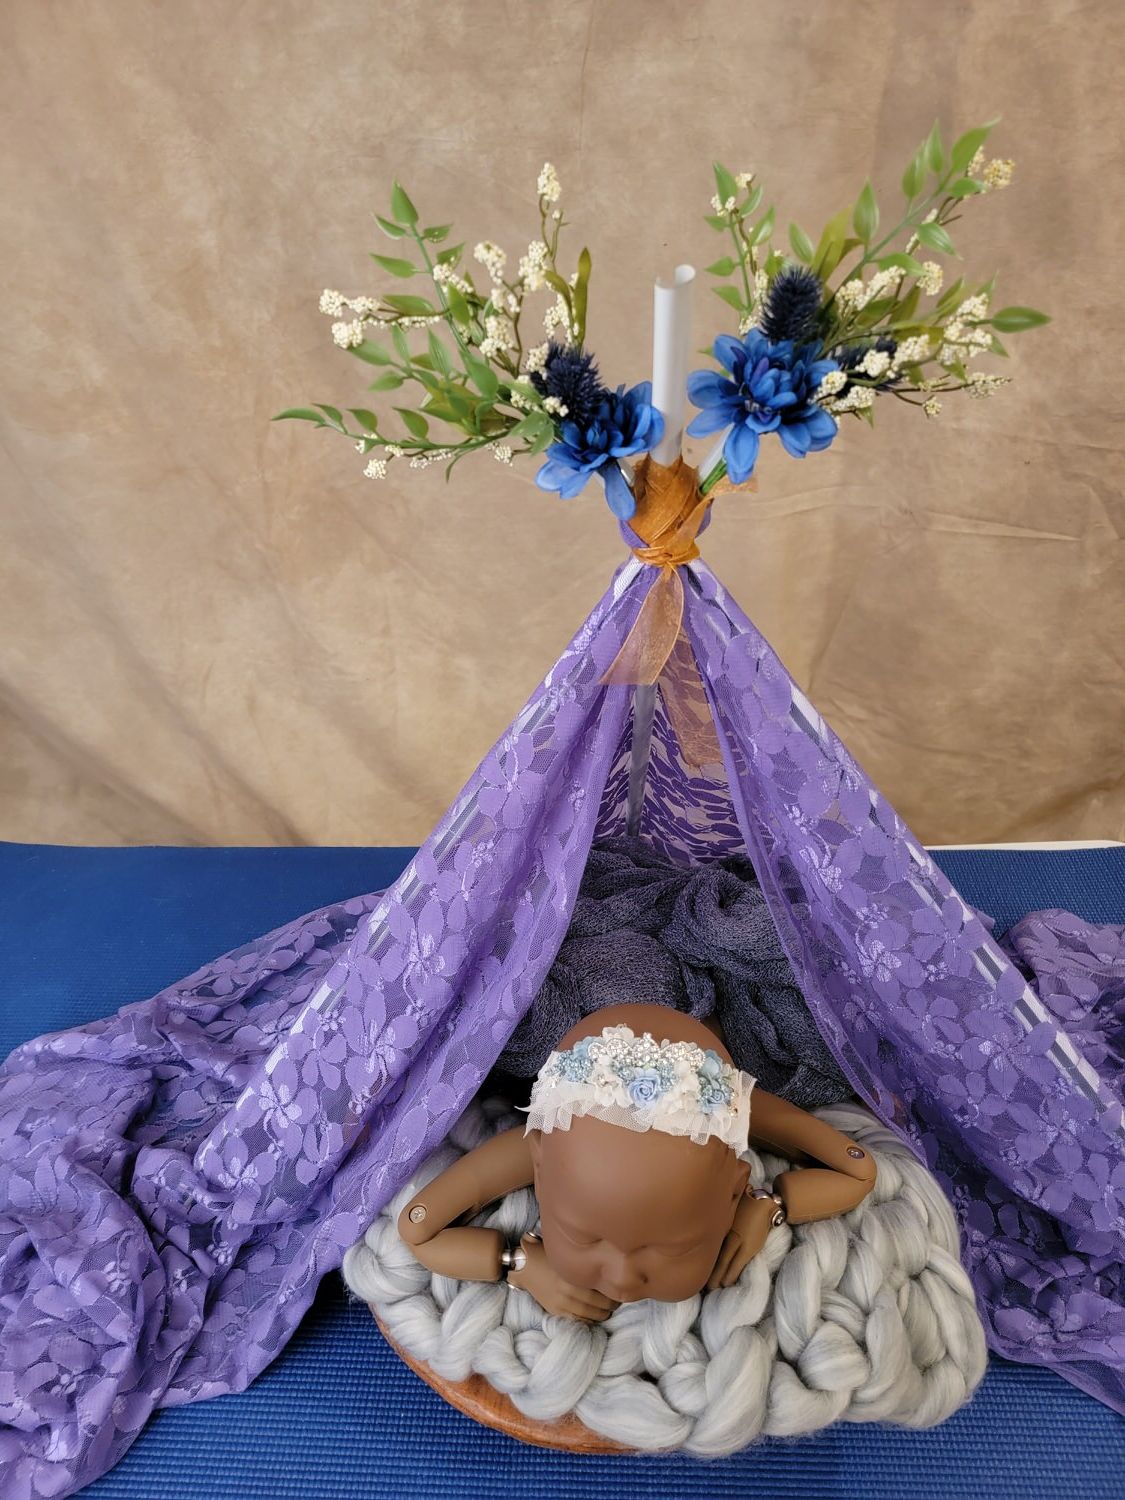
Here's where things really start to get fun. It's time to drape the fabric over your frame and truly bring your boho tent to life. Don't worry about getting it perfect. The beauty of a boho look is in its perfectly imperfect charm, so just start draping.
It's all about creating layers. Have more than one fabric? Awesome! Go ahead and mix 'em up. Different patterns, textures, and colors can add a lot of visual interest. Even if you only have one fabric, you can create a layered effect by draping it in different ways.
Securing your fabric to the rods can be done using tape or safety pins. Whatever you've got on hand will do. Just remember, the fabric shouldn't be too tight. You're going for a flowy, dreamy look, so allow it to hang loosely.
Don't stress over fabric on the ground either. In fact, it can actually add another layer of texture and depth to your photos. So, let it pool and create a bit of a 'train' effect. It's all part of the boho charm.
Remember, this is your creation. There's no right or wrong way to do it. It's all about having fun and letting your imagination run wild. So, go ahead and drape away, you're creating something truly magical!
Staging Your Boho Tent for a Newborn Photoshoot
Alright, you've done it! You've created your boho tent. Now, it's time to make it shoot-ready for the adorable newborn. A cozy blanket is a must-have inside the tent for the baby's comfort. Plus, it can add an extra layer of texture to your photos.
Next, let's sprinkle in a bit of that boho magic. How about a dreamcatcher hanging from the top? Or a whimsical flower crown gently placed nearby? Maybe even a quaint rattan basket filled with soft blankets. But remember, less is more. We don't want the tent to take all the attention away from the newborn.
The boho tent adds a touch of whimsy, yes, but the real star of the show is the little bundle of joy. The props are there to create a magical atmosphere, not to steal the spotlight.
So, go ahead, stage your tent, but keep it sweet and simple. Let your newborn shine in the dreamy setup you've crafted. And remember, this is all about having fun and creating memorable photos. So, take a deep breath, let your creativity flow and snap away! Happy shooting!
Remember, this blog post is about a newborn photogapher in Los Angeles who was in a major time-crunch! There are obviously better ways. I hope this gives you ideas for how you can use items you have lying around your house or studio when you need a prop in a pinch.
New Paragraph
